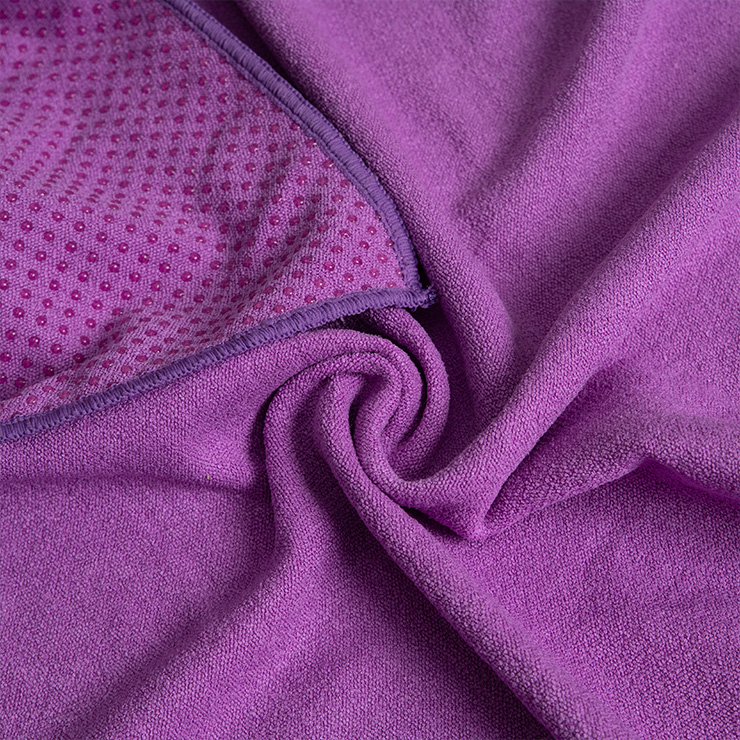
Dot adhesive tape (also known as Velcro or buckle strap) is a convenient and fast fixing material commonly used in clothing, footwear, luggage, and other fields as an alternative to traditional buttons or zippers for closure. If you want some adhesive tape to look both practical and beautiful after sewing, you can follow the following steps and suggestions:
1. Prepare materials
Dot tape: Ensure that the selected dot tape width and color match your project.
Needle and thread: Use needles suitable for adhesive tape material (such as nylon needles or leather needles) and thread with sufficient strength.
Scissors: Used for trimming excess thread ends.
Sewing machine (optional): If you are proficient in using a sewing machine, you can speed up the sewing process.
2. Determine the position of the adhesive tape
Before starting sewing, determine the exact position of the adhesive tape on the item. It can be temporarily fixed with a needle or clip to ensure that the two pieces of adhesive tape are aligned and can be accurately closed.
3. Sewing techniques
Hand sewn
Using double stitch method: This can increase the strength of the suture and also make it more aesthetically pleasing.
Hidden stitching: Try to hide the stitching on the back of the dot tape as much as possible, so that the front looks neater.

Reinforce both ends: sew a few extra stitches on both ends of the adhesive tape to increase its durability.
Using a sewing machine
Choose appropriate feet: Use sewing machine feet that are suitable for using adhesive tape (such as open feet) to better see the sewing path.
Adjust foot pressure: Adjust the foot pressure according to the thickness of the adhesive tape to avoid pressing too tightly or too loosely.
Strengthen sewing: You can increase the number of sewing times at both ends of the adhesive tape to ensure its firmness.
4. Pay attention to details
Alignment: Ensure that the two pieces of adhesive tape are completely aligned to ensure a smooth and secure closure.
Reserved space: When sewing, leave enough space for some adhesive tape to avoid sewing too tightly and preventing it from closing properly.
Flat stitching: Keep the stitching straight and not skewed, which not only increases aesthetics but also improves durability.
5. Organize
After completing the sewing, carefully check if there are any exposed thread ends and trim the excess parts with scissors. Ensure that the entire sewing area is clean and tidy.
6. Testing
Try the sewn adhesive tape to ensure that it can be smoothly closed and opened without any jamming or difficult separation.
matters needing attention
Before sewing, you can practice on the waste fabric to familiarize yourself with the needlework and sewing machine settings.
For parts that require frequent opening and closing, it is possible to consider using stronger point tape materials to extend their service life.
If it is used for children's clothing or toys, it should be ensured that the adhesive tape is firmly fixed enough to prevent children from ingesting or causing hidden dangers.
Through the above steps and techniques, you can make the sewing of adhesive tape both practical and beautiful, adding a sense of professionalism to your DIY project.
If you are looking for related products or have any other questions, you can call our company's sales hotline at 0769-86415161 or 138-2923-0758 at any time. You can also leave us a message below and we will serve you enthusiastically!

